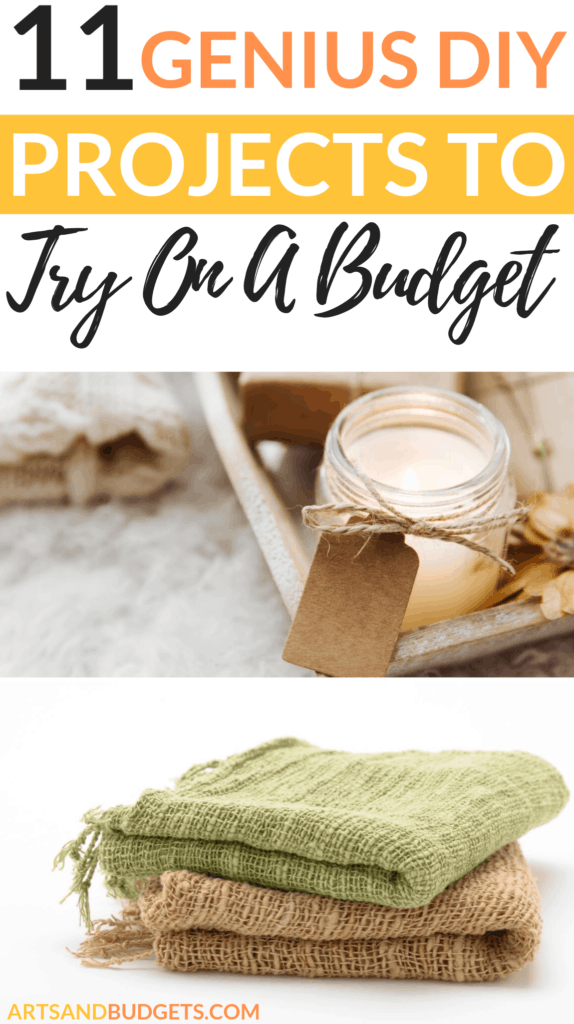
DIY Decorations for any season!
Disclaimer: This post is sponsored by PSECU, a Pennsylvania-based credit union.
It’s always fun to decorate when new seasons roll around, but what do you do when you’re on a budget? You don’t have the break the bank to make your home look inviting — DIY projects serve as tried and true alternatives for expensive decor. Making your house look sophisticated while saving money has never been easier. Whether you visit the local craft store or make materials from scratch, you’re bound to find a seasonal solution to fit your style.
Keep reading to discover 11 budget-friendly DIY crafts you can do for any holiday.
Related Posts:
- 15 Frugal DIY Home Decor and Project Ideas
- 15 Genius Household Hacks That Can Save A lot of Money
- 12 Dollar Store Hacks For Kids To Save Money
Table of Contents
11 Budget-Friendly DIY Decorations for Any Season
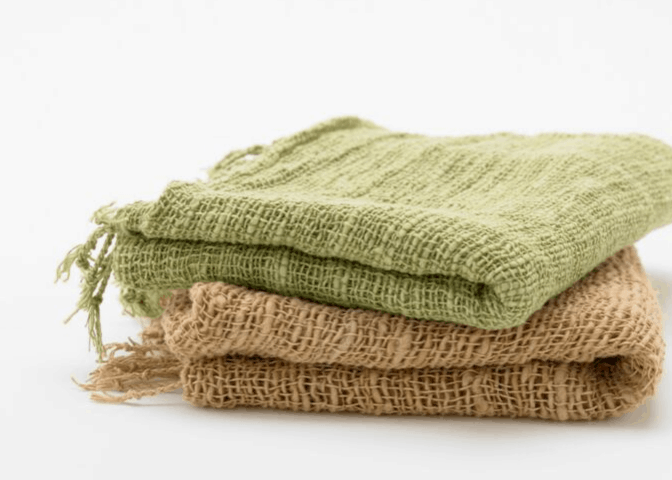
1. Sweater Throw Pillow
If you love DIY decorations this is a must-try. This set of comfy and cute throw pillows can upgrade any couch, but you probably don’t want to spend money buying bunches of them at the store. Luckily, you can make some of your own with simple materials including old sweaters.
You can make your throw pillows by one of two ways which are first purchase cotton batting and make a pillow from scratch, or create a cover for a throw pillow you already own. You can also buy sweaters from a thrift store if you’d rather not cut up your clothes but wash them beforehand.
After that sew buttons onto the hem of the sweater pillowcase to keep it secure, or make an envelope-style cover for easy accessibility. Check out an example of Sweater Throw Pillow here.
2. Marble Coasters
This is one of my favorite DIY decorations to try. You can turn everyday objects like coasters into marble masterpieces with nail polish, sealant and water.
Fill a basin with water and add a few drops of your favorite nail polish colors. You can pick up cheap but quality options at a local drugstore if you don’t want to use polish you already own. Use a toothpick or popsicle stick to drag the colors around and mix them. Make sure to have your coaster ready, because the nail polish will become sticky and dry if you wait too long.
Dip the coaster into the solution and take it out once it absorbs the color. Let it dry for a few minutes before applying a clear sealant. The sealant keeps the coloring in place to avoid fading once you start using the coaster. Check out an example of marble masterpiece by clicking here.
3. Glow Jar
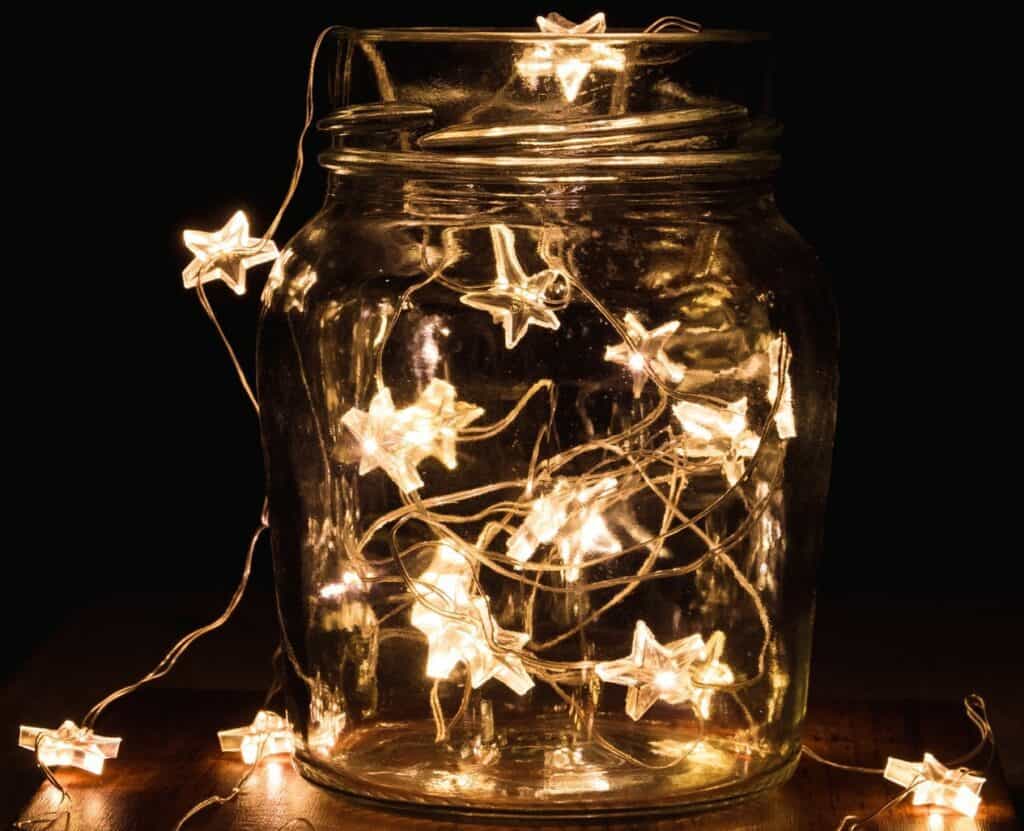
If you are looking for creative DIY decorations this idea is perfect to try. Collect empty mason jars and spice them up with a dazzling twist. Make a glow jar by using an LED tea light and some translucent pebbles. You can also substitute pebbles for marbles or beads. Choose colored ones to fit the season you’re decorating for — orange and black works well for Halloween, while pink and green looks great for Easter.
Fill a 16-ounce mason jar with pebbles until it’s nearly full. Place an LED tea light at the top and position it upside down — this allows you to access the switch easily. Put the lid on and tie it with a colorful ribbon. If the tea light battery runs out, replace it with another. Use stickers to spell a festive phrase on the jar for extra charm. Such as a glow jar that screams, “Boo!” or spell out a message of gratitude with “Happy Thanksgiving.” See how to design a glow jar by clicking here.
4. Painted Ceramic Bowls
Another awesome DIY decoration idea you can try is painted ceramic bowls. You can turn white ceramic bowls into colorful creations with porcelain paint and unique painting utensils. Ensure your dishes are oven-safe before starting.
If you’re unsure about paint thickness, test it on a disposable dish first and thin it with paint thinner if necessary. Once you have the colors you like, start painting. Paintbrushes are convenient but don’t be afraid to get creative. Dip leaves into the paint and press them onto the bowls for autumn-inspired patterns. Use snowflake and Christmas tree stencils to create snowy scenery or paint fireworks for July 4.
Once you finish painting, let the bowls sit for 24 hours before baking them in the oven at 300 degrees Fahrenheit. This process locks in your designs. Let the dishes bake for 35 minutes before taking them out. You don’t have to stick to bowls, however — do the same with plates, cups and other dishware.
5. Pressed Herb Candles
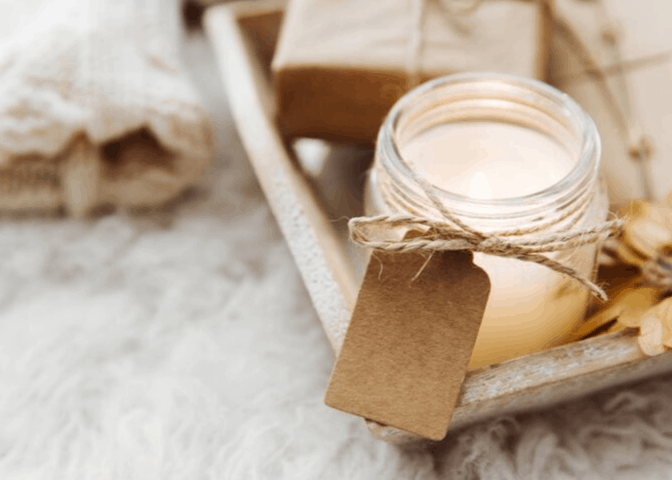
If you love candles this DIY decoration project is a win for you. Candles make a great addition to any home, and they’re even cozier in the fall and winter months. Fashion your own using wax and essential oils, and add pressed herbs for a fun touch of greenery. Try plants like rosemary, thyme, and lavender.
Take herbs from your garden or buy pre-pressed ones. If you’re using fresh ones, leave them in a heavy book for about a week to ensure they’re adequately dried and flattened. Melt your wax of choice — beeswax may not take fragrance as well as other waxes, so try soy if you want a stronger scent. Flatten the herbs against the wall of the container and keep them at least an inch below the rim.
Add the essential oils to the rest of the wax once it’s fully melted. Switch up the scents to match the season. Evergreen works well for Christmas while cinnamon, cranberry or orange gives autumn notes. Experiment with how much oil you add when mixing multiples to ensure one doesn’t overpower the rest. Once you’ve put together your candle, let it cure for 48 hours. Check out an example of how to set make herb candle by clicking here.
6. Glass Bookends
This is one of my favorite DIY deocorations to try. Coordinate your book collection with the rest of your decor by using decorative glass bookends. You can use any two vases as long as they match and are sturdy enough to support the weight of your books. Glue decorative paper to the inside back wall of each one to provide an attractive background. This paper can be something ordinary like burlap, or you can go with more lively designs.
Once you glue the paper in, your bookends are ready to go — now it’s time to add flair. Fill the vases with eye-catching decor and create holiday scenes. Create a beach landscape for the summer with sand, seashells, sea glass and a tiny umbrella. Invent a fall forest with acorns and maple leaves, or create a winter wonderland with faux snow, small evergreen trees, and a jolly snowman. See examples by clicking here.
7. Tea Towels
The perfect kitchen has an abundance of tea towels — but you don’t have to buy new ones for each holiday. Create designs by using stamps, stencils and craft paint.
Pick an egg and Easter Bunny stencils for spring, or welcome fall with leaf- and pumpkin-shaped stamps. Once you have your tools ready, you can use a sponge or large brush to paint stencil designs onto plain white tea towels. Dip stamps into your favorite colors and add festive patterns to the fabric. Go with an organized pattern or run wild with a random design scheme because there are no wrong answers to decorating.
Let the paint dry for 24 hours after you finish then use an iron to seal the designs. See examples by clicking here.
8. Removable Wallpaper
Accent walls make perfect design pieces if you love to go big with your seasonal decorating. Removable wallpaper also works great for renters who aren’t able to hang decorations on the walls.
Secure a plain roll of peel-and-stick wallpaper and acrylic paint. Measure out the height and width of your wall — account for features like the baseboard — and cut out a length of wallpaper to match. Remove the wallpaper backing and smooth it onto the wall.
After you’ve done this, begin painting. Whether you choose a set pattern or figure it out as you go, your wallpaper is sure to look great. If you’d rather not freehand it, buy stencils featuring common holiday symbols. Use a flower print for early spring, or decorate your wall with bats and ghosts for a Halloween scare. Click here to see examples of removable wallpaper.
9. Seasonal Terrarium
A terrarium allows you to enjoy the green hues of warmer months long after the weather turns cold. Decide which plants to include and whether they require an open or closed environment. Open terrariums are good for plants requiring sunlight, while closed containers suit humidity-loving plants best.
Use a simple glass container such as a cookie or mason jar. Add a layer of charcoal to prevent mold growth and rotting. Find small rocks and pebbles to decorate the bottom with, then add soil. This layer should be thicker than the charcoal or stones — ensure you have enough inside. Leave room for the plants’ roots to spread out, and don’t pack too many in one space.
Implement holiday-inspired figurines such as snowmen, beach balls or pumpkins. Once the terrarium is complete, set it somewhere visible and watch it thrive.
10. Floating Candle Centerpiece
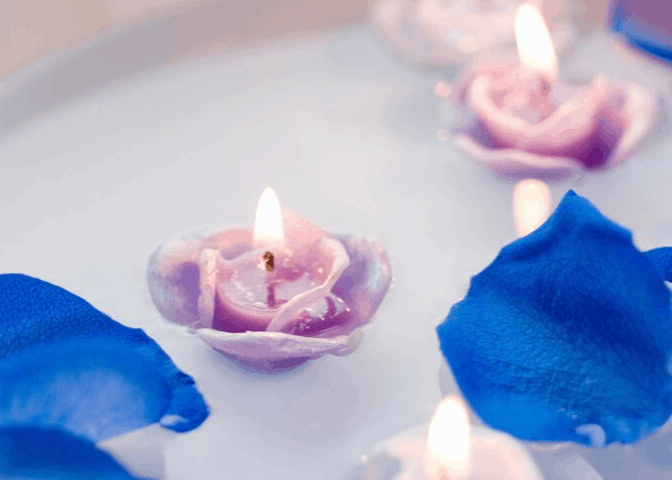
If you love making DIY decorations this is a fun one to try. Add a romantic flair to your dinner table with a floating candle centerpiece. These are simple to make and only require a few materials which are a glass container, flower petals, and a tea candle. Add accessories like beads or seashells to fit your favorite aesthetic. Floating candle centerpieces look best with long cylindrical glasses, but you can use any vessel you have on hand.
Place beads and flower petals in the bottom of the glass, or use whole flower stems. Anemones and cornflowers look great in summer months, while violets and camellias complement the chill of winter. Fill the glass almost to the top with water, then place a small candle in it. Light the wick, and you’ll have a radiant centerpiece to impress guests with.
11. Reversible Placemat
Make a set of reversible placements by using two or more complementary fabrics, a sewing machine and an iron.
Cut a section out of each piece of fabric. The size of these rectangles depends on how big you want your placemat to be — for example, 18 by 15 inches. Place the patterned sides of these rectangles together and sew them using a sewing machine. Leave a space at the bottom for turning the placemat inside out, and avoid sewing the corners together. Cut these corners off.
Heat your iron and run it over the placemat to press the seams. Sew a topstitch over the opening, and you’ll have an attractive placemat for every meal.
Bring In the Season With Style
Making DIY decorations and decorating your home on a budget is simple and sweet so there is no need to stress over sales and price tags. Use these ideas for your next project, and you’ll soon be known as the master of DIY.
Leave a Reply